1. Navigating Logbook Templates
Create logbook templates and manage them in the library!
From here you can use the quick action buttons to navigate to the following sections.
✅ Add people
✅ Duplicate/copy Logbook
✅ Edit
✅ Badges
✅ Resources
✅ Delete
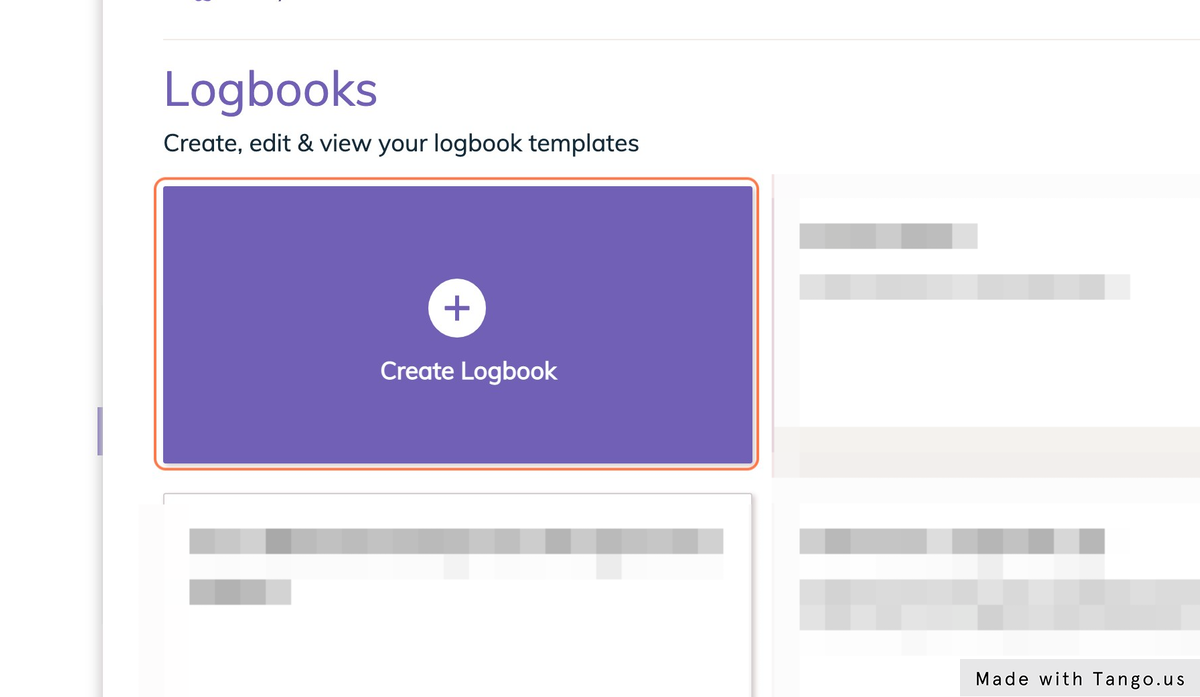
2. Click on Create Logbook
To create a new logbook select the 'Create logbook button'.
3. Give your logbook a name
Every logbook needs a name! Enter it here. This will help you and your employees identify the logbook.
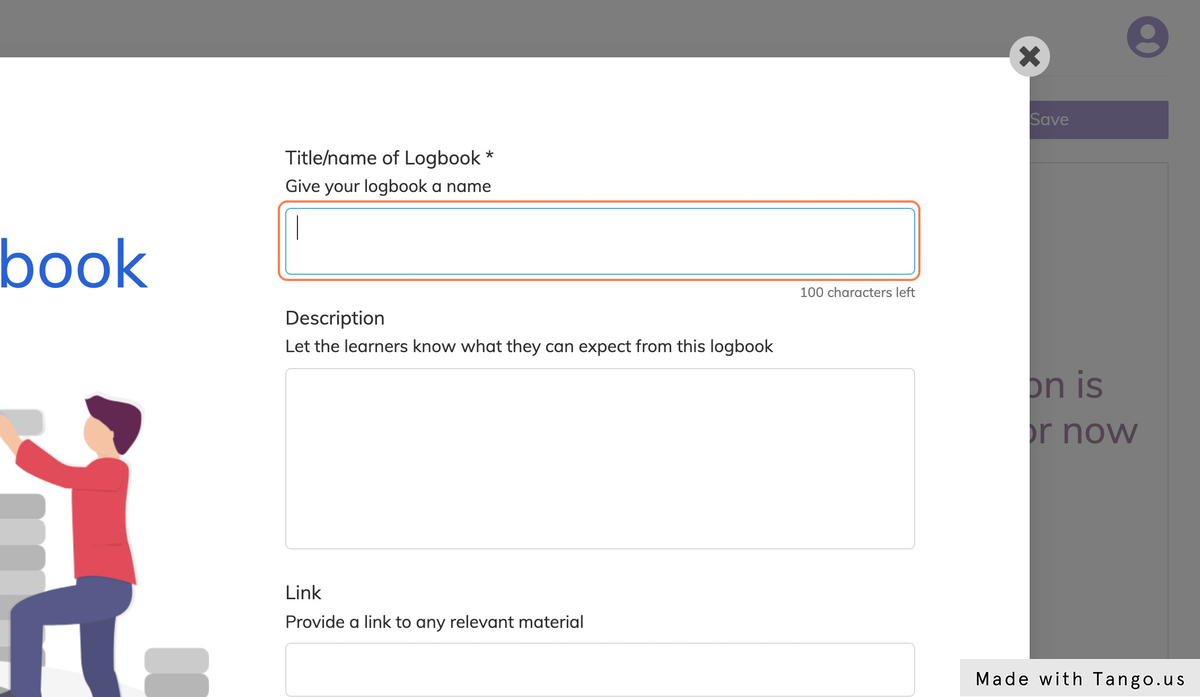
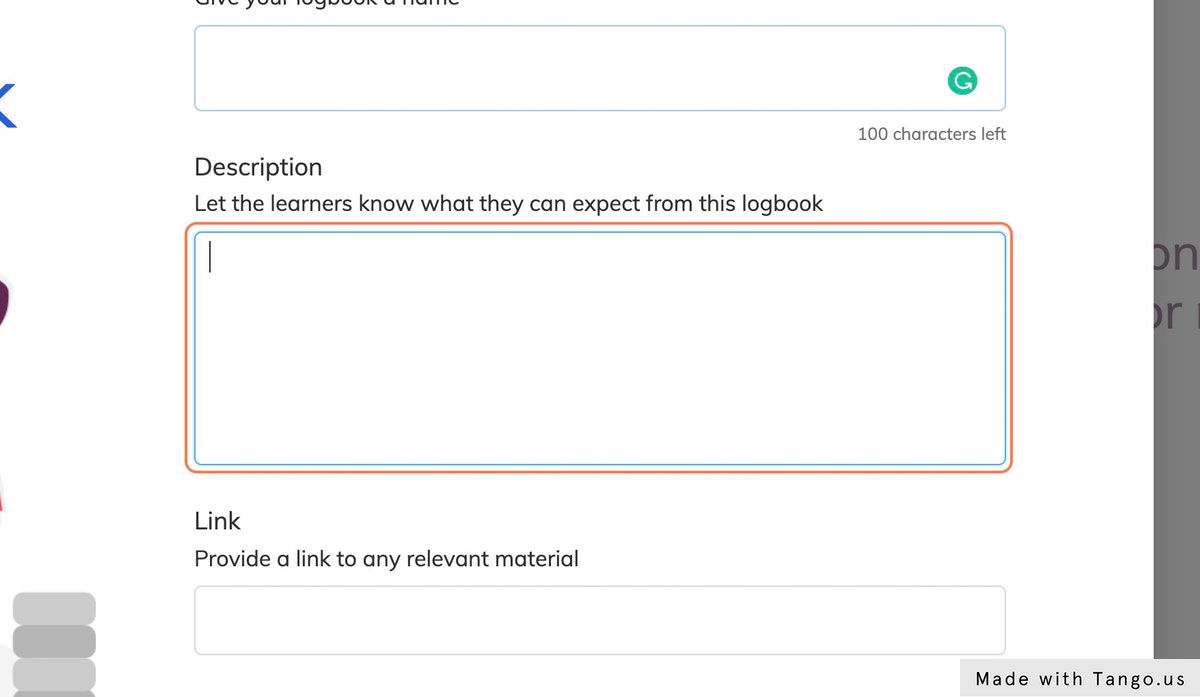
4. Logbook Description
A description can be extremely useful for your employees to understand what the logbook might be used for.
5. Link your logbook to other systems.
You can copy and paste a URL link here. You may want to link this logbook to an intranet or e-learning platform.
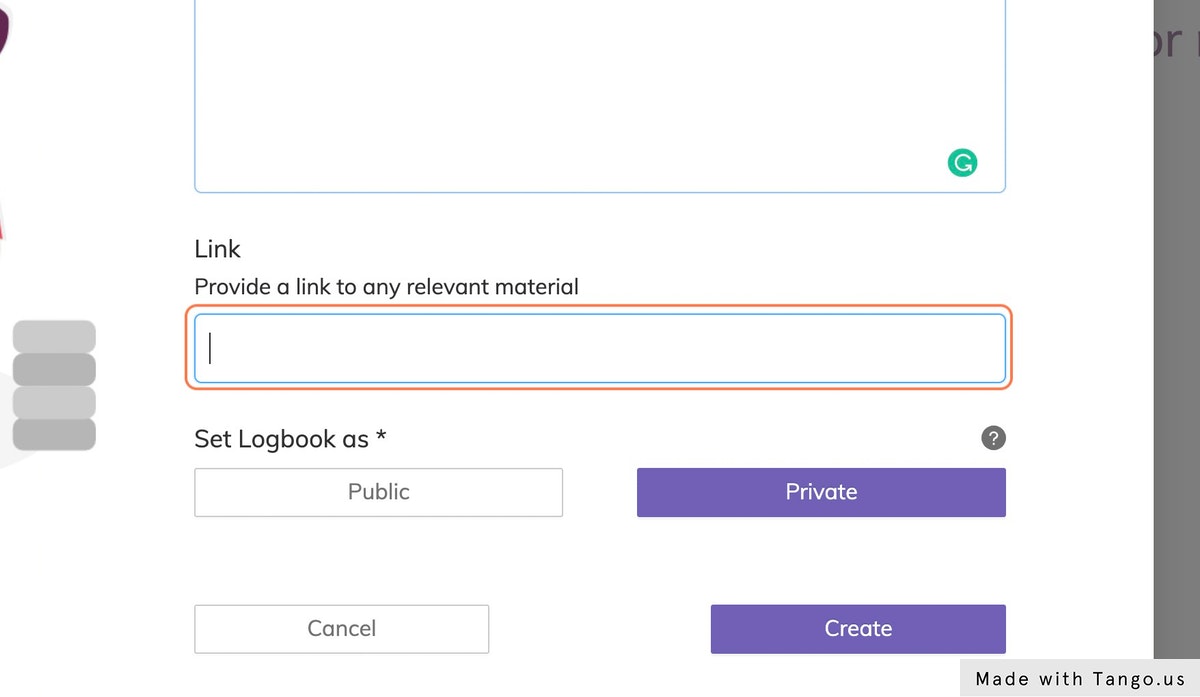
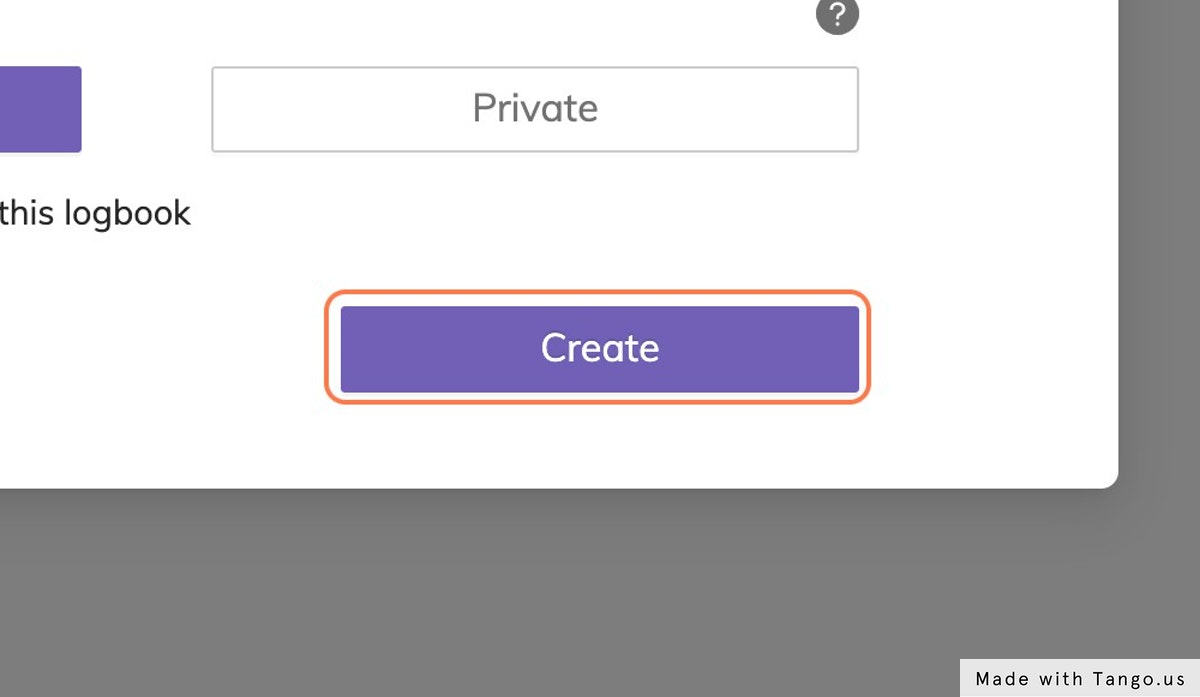
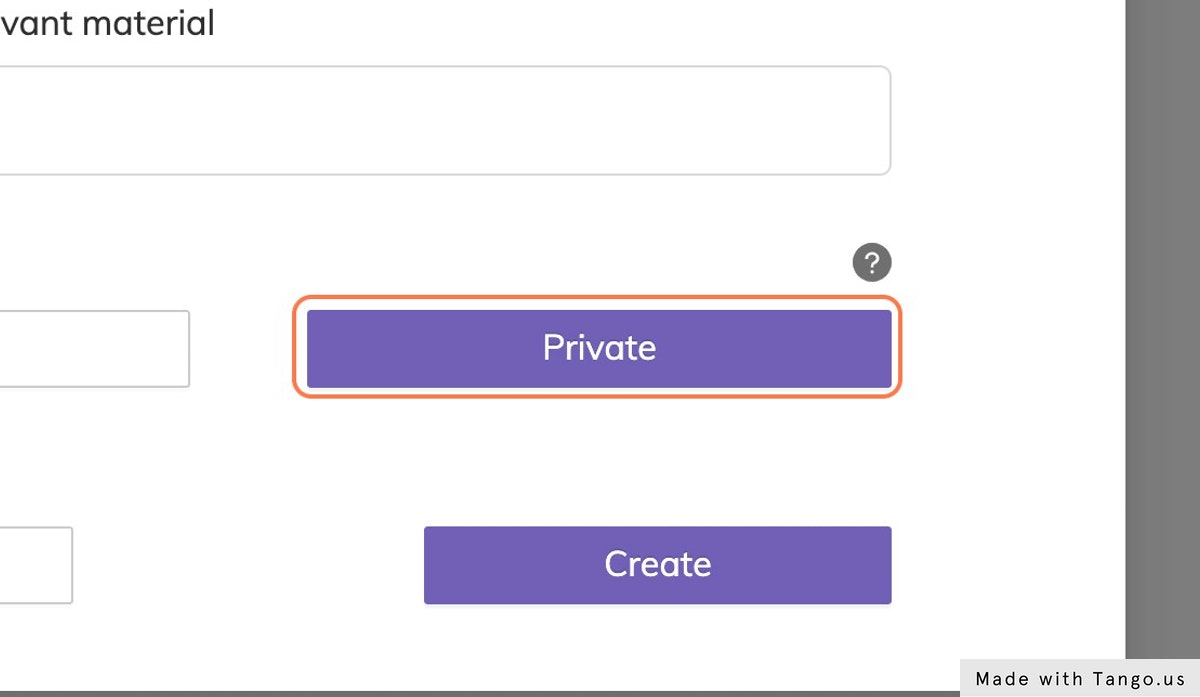
6. What is a Private Logbook?
By selecting a private logbook, you are only allowing employees who are selected to be assigned to this logbook to get access to it.
This is the common step our users choose to set up their logbooks.
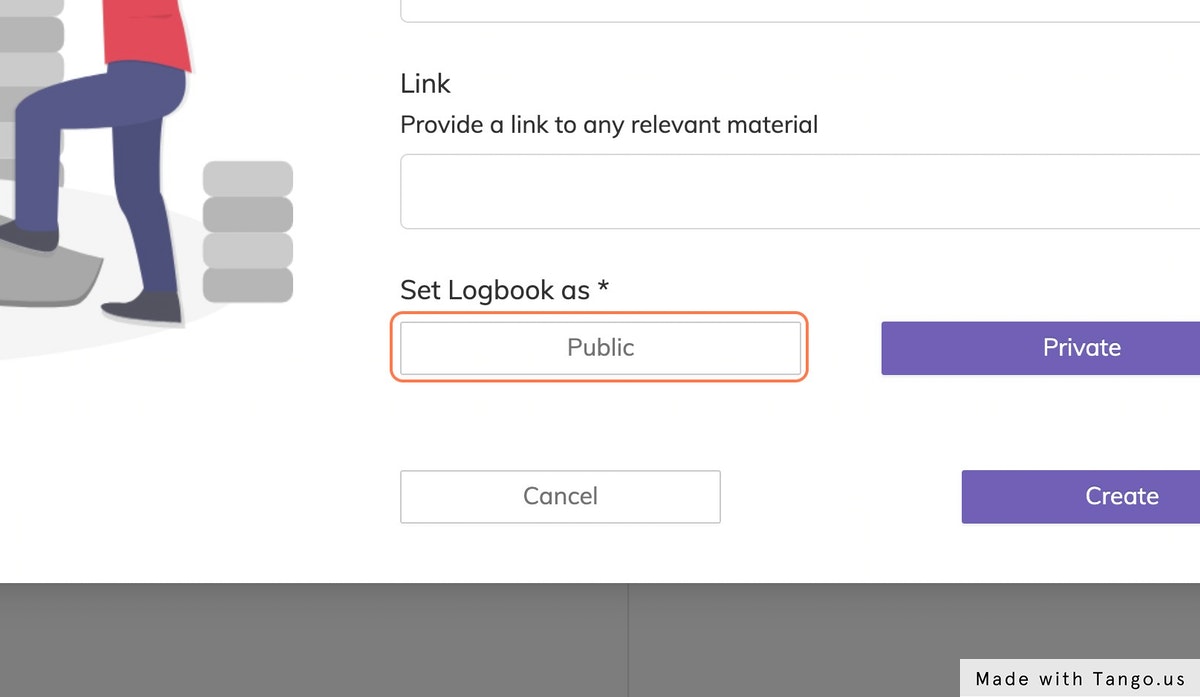
7. What is a Public Logbook?
When you add people to your database they can automatically get access to a public logbook if you choose to create a logbook as 'public'.
8. Public logbook - Join Request
If you decide to create a public logbook, you will be prompted to check a box to allow learners to request to join this logbook.
If you check this box learners will not automatically be able to get access to the logbook without the approval of the admin.
If the box remains unchecked learners can join the logbook without any approval and start submitting entries.

9. Finalise your set up!
Select the create button and move on to the next step!